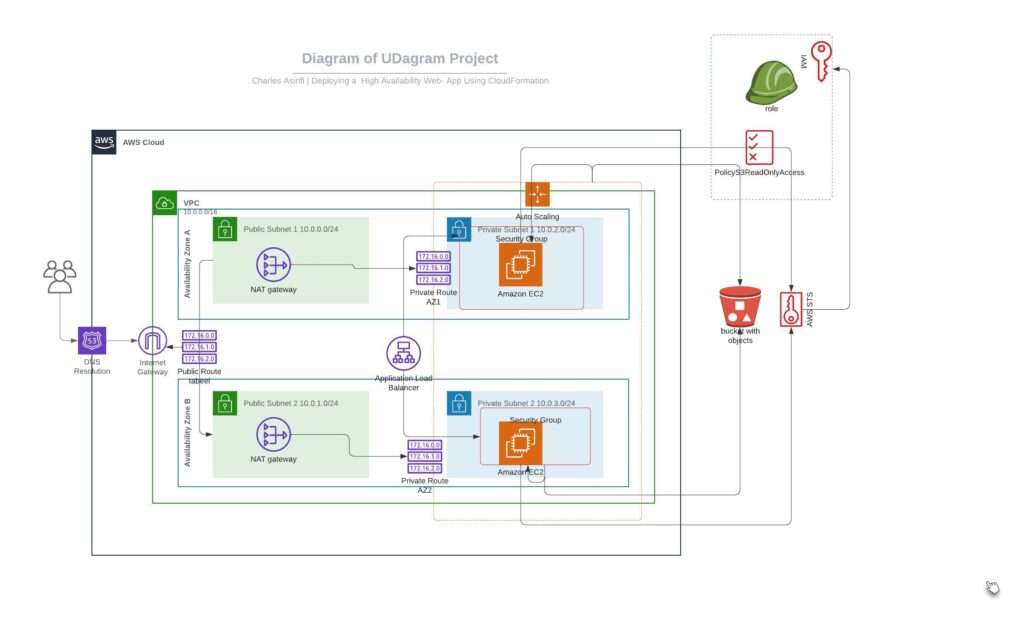
Introduction: In today’s digital age, having an online presence is crucial for businesses, individuals, and organizations. Websites serve as the primary interface between users and the services or information they seek. This project focuses on deploying a static website on AWS, leveraging the power of S3 for hosting and CloudFront for efficient content delivery.
Real-life Significance Scalability: By hosting on AWS S3, the website can handle a vast number of requests. This scalability ensures that as the user base grows, the website remains responsive and available.
Performance: With CloudFront, users experience low latency and high transfer speeds, ensuring a seamless browsing experience. This is especially vital for businesses where user retention is closely tied to website performance.
Cost-Efficiency: Static websites on S3 incur lower costs compared to traditional hosting solutions. You only pay for the storage used and the data transferred, making it a cost-effective solution for startups and SMEs.
Security: Using IAM policies to secure the S3 bucket ensures that the website’s content remains protected from unauthorized access or malicious attacks.
DevOps Best Practices Infrastructure as Code (IaC): Automate the creation of the S3 bucket and CloudFront distribution using tools like AWS CloudFormation or Terraform. This ensures repeatability and consistency across deployments.
Continuous Integration and Continuous Deployment (CI/CD): Implement a CI/CD pipeline to automate the deployment of website updates. This ensures that any changes to the website are tested and deployed efficiently.
Monitoring and Logging: Integrate AWS CloudWatch to monitor the health and performance of the S3 bucket and CloudFront distribution. This provides real-time insights and alerts on any potential issues.
Backup and Disaster Recovery: Regularly back up the S3 bucket contents. In case of any unforeseen issues, a recovery plan should be in place to restore the website to its previous state.
Create S3 Bucket
Navigate to the “AWS Management Console” page, type “S3” in the “Find Services” box and then select “S3”
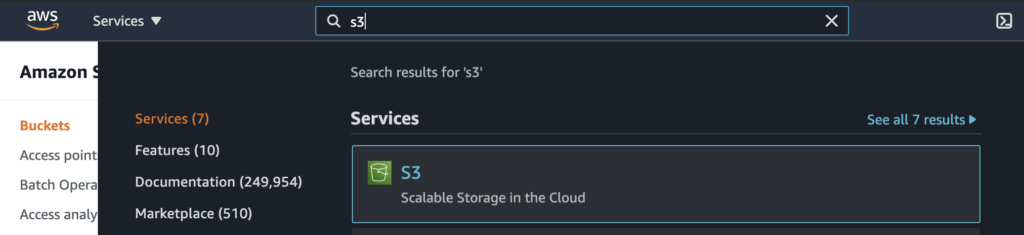
- The Amazon S3 dashboard displays. Click “Create bucket”.

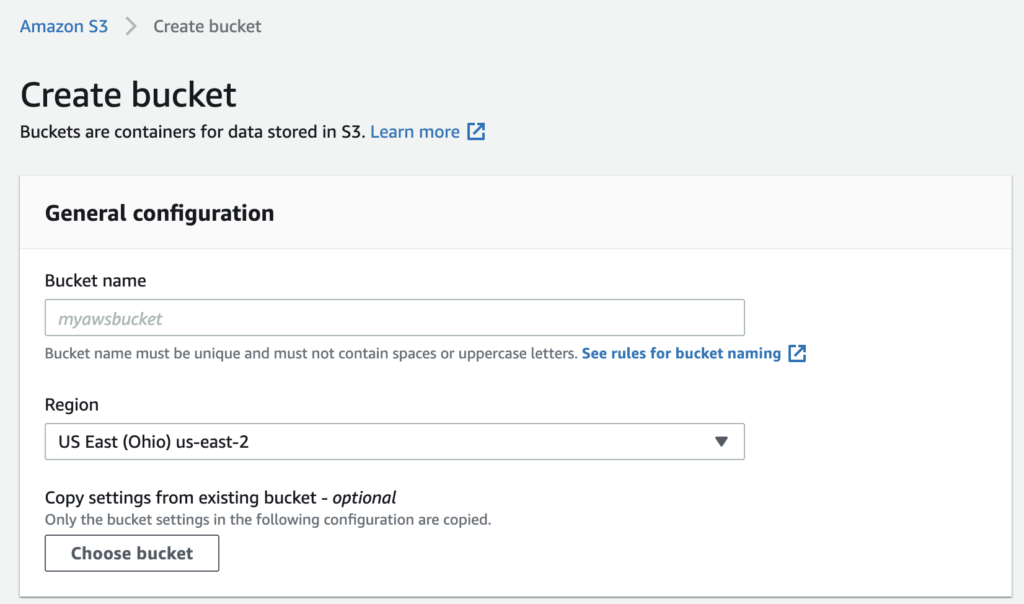
In the General configuration, enter a “Bucket name” and a region of your choice. Note: Bucket names must be globally unique.
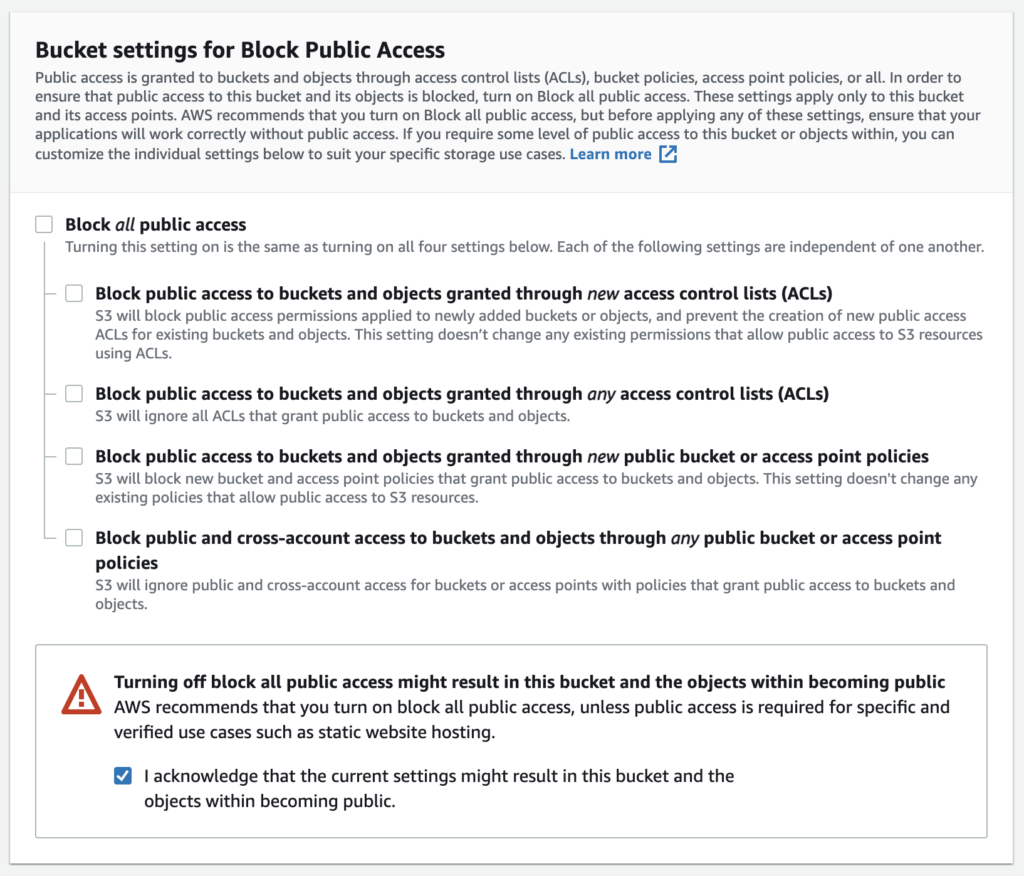
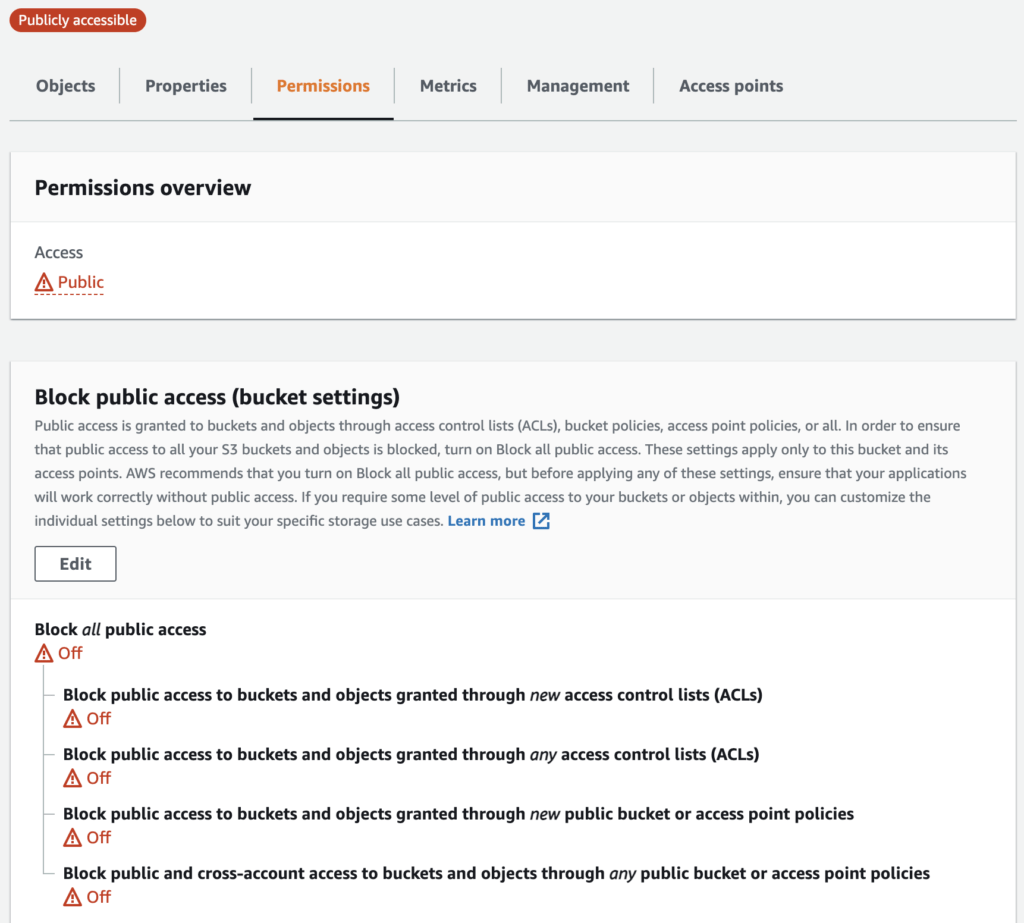
- In the Bucket settings for Block Public Access section, uncheck the “Block all public access”. It will enable the public access to the bucket objects via the S3 object URL.
Note – We are allowing the public access to the bucket contents because we are going to host a static website in this bucket. Hosting requires the content should be publicly readable.
5. Click “Next” and click “Create bucket”.
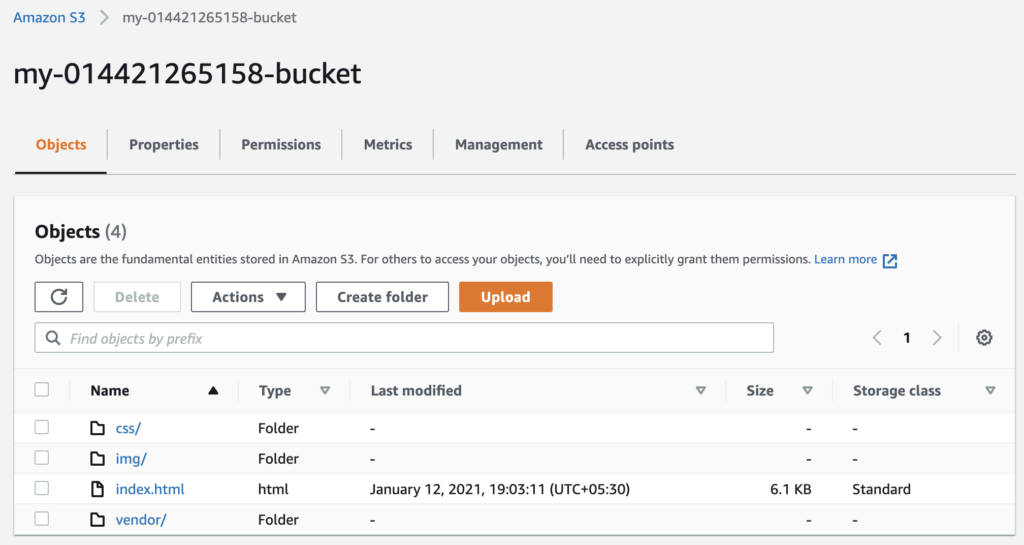
6. Once the bucket is created, click on the name of the bucket to open the bucket to the contents.
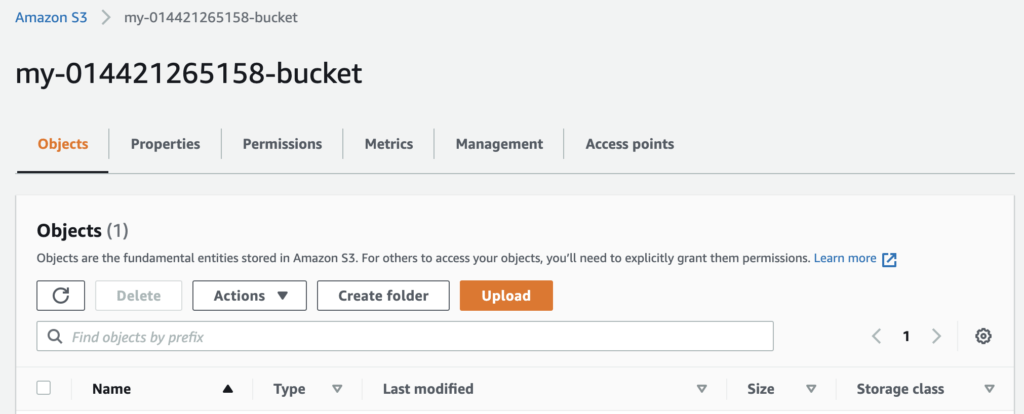
Upload files to S3 Bucket
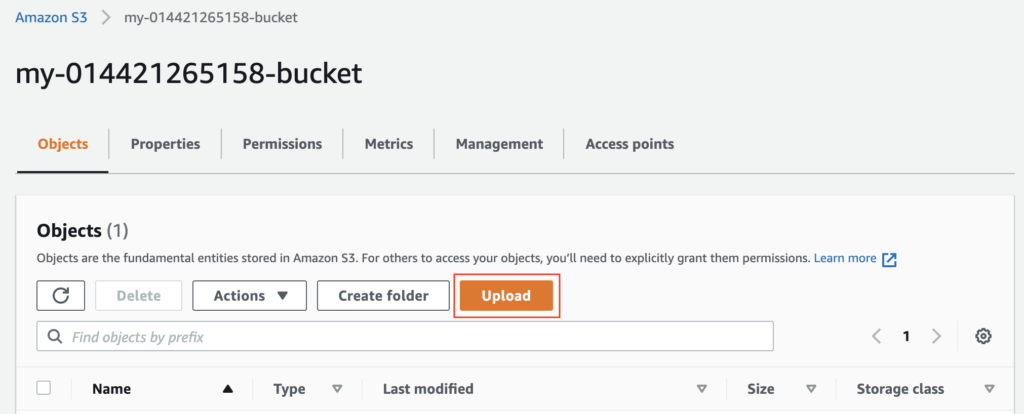
Once the bucket has been created, click the “Upload” button.
Click the “Add files” and “Add folder” button, and upload the website folder content from your local computer to the S3 bucket.
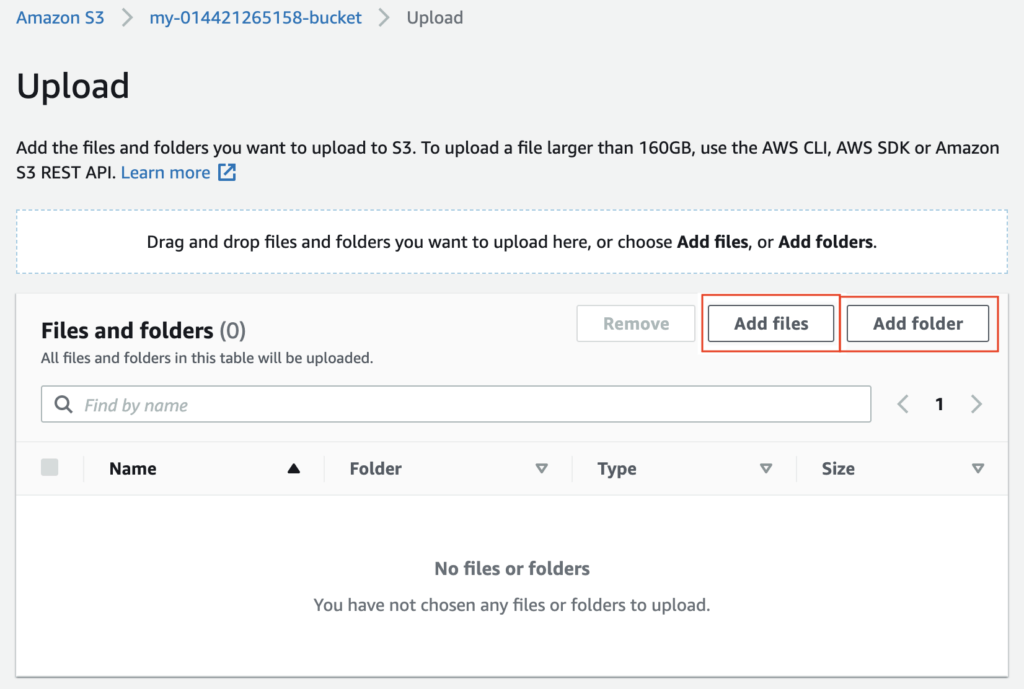
Click “Add files” to upload the index.html file, and click “Add folder” to upload the css, img, and vendor folders.
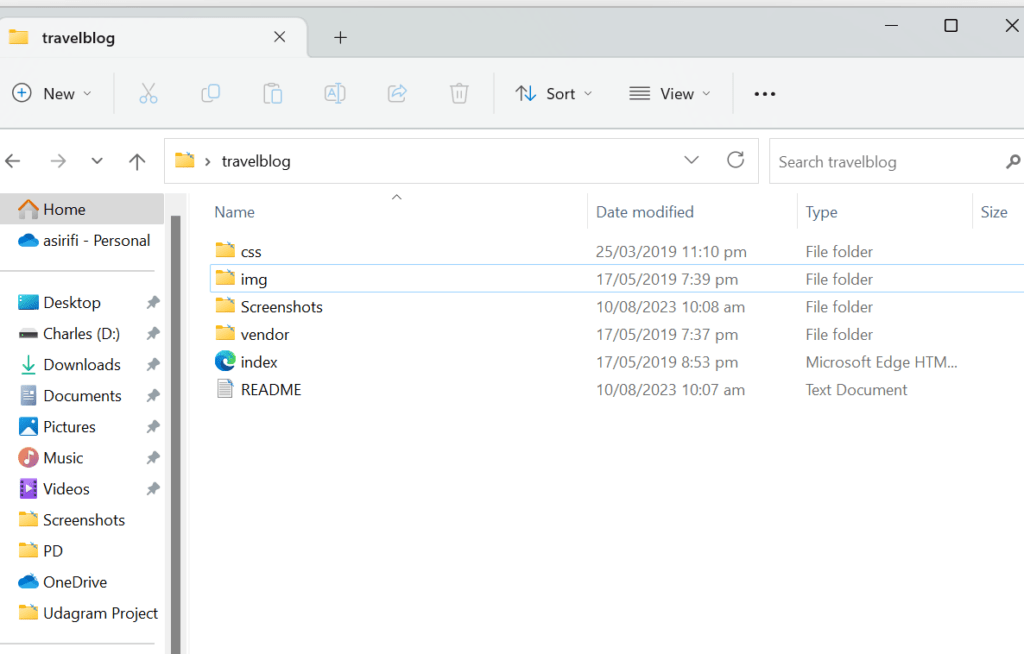
Do not select the folder at once. Instead, upload its content one-by-one.
For faster upload , use amazon CLI
Workaround 2
Use CLI commands to upload the files and folders:
- Upload files
Verify the AWS CLI configuration. If not configured already, use:
aws configure list
aws configure
aws configure set aws_session_token "<TOKEN>" --profile default
Upload files
# Create a PUBLIC bucket in the S3, and verify locally as
aws s3api list-buckets
# Download and unzip the udacity-starter-website.zip
cd udacity-starter-website
# Assuming the bucket name is my-bucket-202203081 and your PWD is the "udacity-starter-website" folder
# Put a single file.
aws s3api put-object --bucket my-bucket-202203081 --key index.html --body index.html
# Copy over folders from local to S3
aws s3 cp vendor/ s3://my-bucket-202203081/vendor/ --recursive
aws s3 cp css/ s3://my-bucket-202203081/css/ --recursive
aws s3 cp img/ s3://my-bucket-202203081/img/ --recursive
Secure Bucket via IAM
Click on the “Permissions” tab.
The “Bucket Policy” section shows it is empty. Click on the Edit button.

3.Enter the following bucket policy replacing your-website with the name of your bucket and click “Save”.
{
  "Version":"2012-10-17",
  "Statement":[
    {
      "Sid":"AddPerm",
      "Effect":"Allow",
      "Principal": "*",
      "Action":["s3:GetObject"],
      "Resource":["arn:aws:s3:::your-website/*"]
    }
  ]
}
You will see warnings about making your bucket public, but this step is required for static website hosting.
Note – I could have made the bucket private and wouldn’t have to specify any bucket access policy explicitly. In such a case, once I set up the CloudFront distribution, it will automatically update the current bucket access policy to access the bucket content. The CloudFront service will make this happen by using the Origin Access Identity user.
Configure S3 Bucket
- Go to the Properties tab and then scroll down to edit the Static website hosting section.
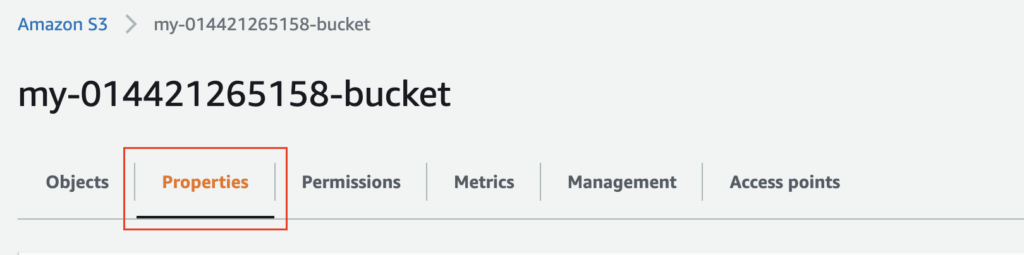

Edit the Static website hosting section
- Click on the “Edit” button to see the Edit static website hosting screen. Now, enable the Static website hosting, and provide the default home page and error page for your website.
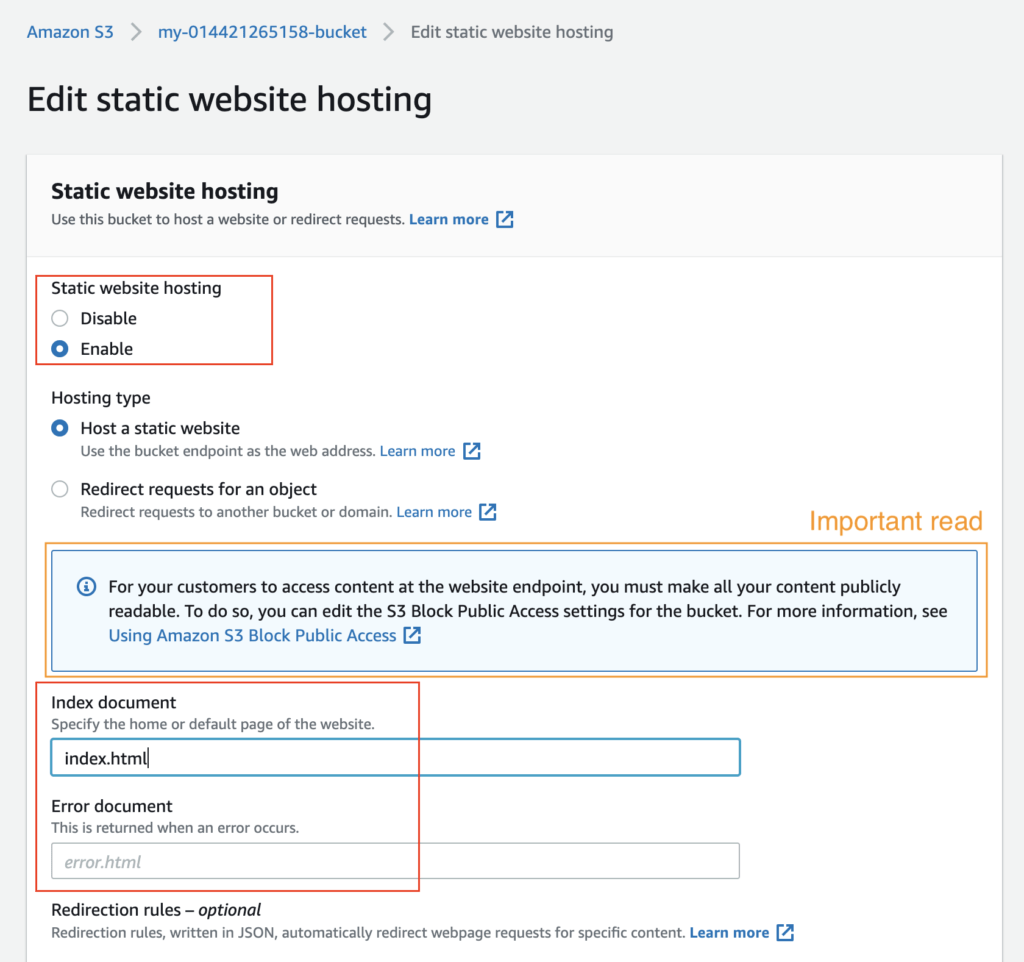
Did you notice that enabling the static website hosting requires you to make your bucket public?
In the snapshot above, it says “For your customers to access the content at the website endpoint, you must make all your content publicly readable.”
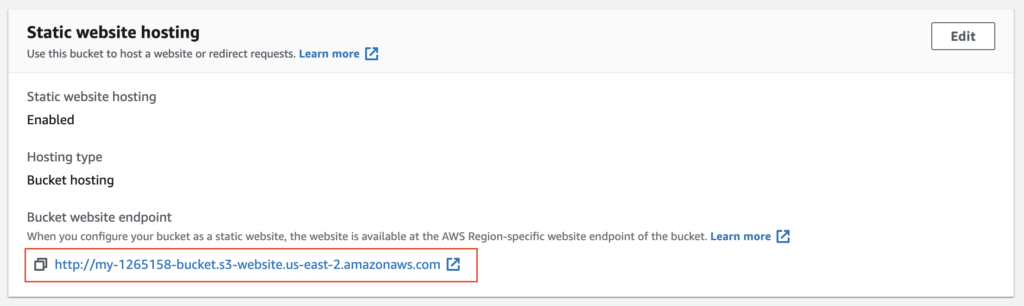
5. For both “Index document” and “Error document”, enter “index.html” and click “Save”. After successfully saving the settings, check the Static website hosting section again under the Properties tab. You must now be able to view the website endpoint as shown below:
Distribute Website via CloudFront
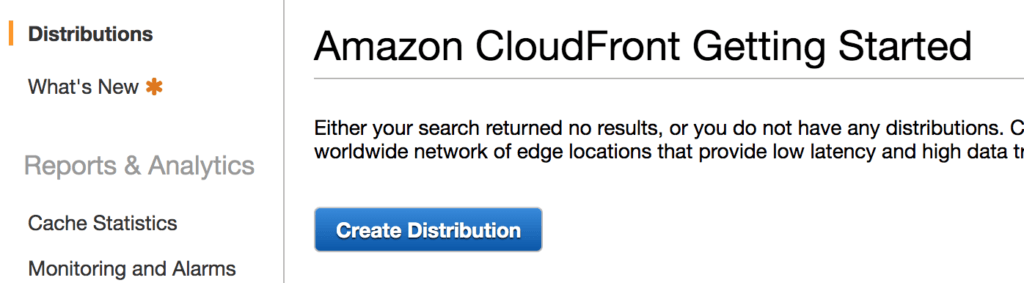
- Select “Services” from the top left corner and enter “cloudfront” in the “Find a service by name or feature” text box and select “CloudFront”.

From the CloudFront dashboard, click “Create Distribution”.
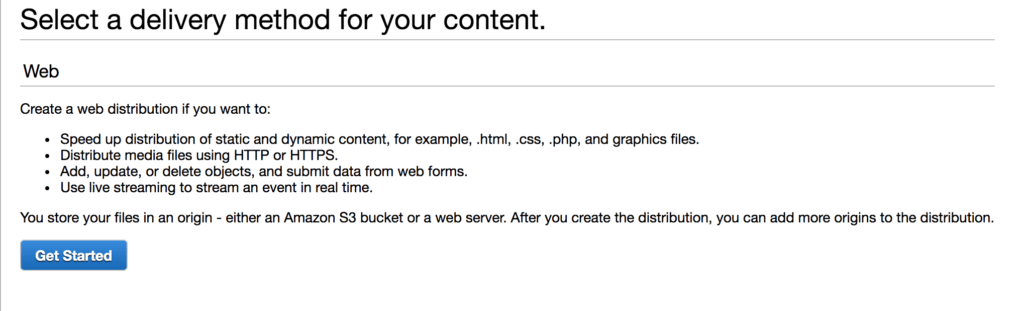
For “Select a delivery method for your content”, click “Get Started”.
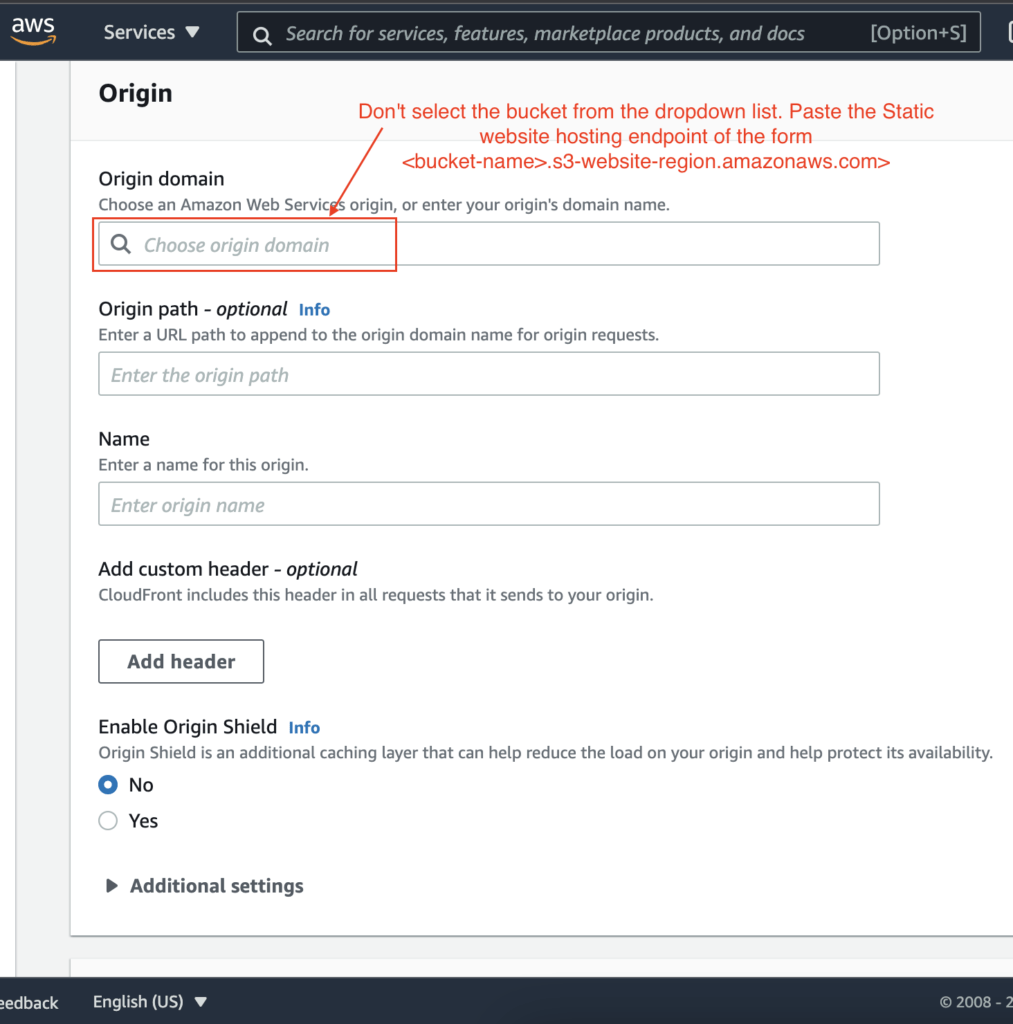
- Use the following details to create a distribution:
| Field | Value | |
|---|---|---|
| Origin > Domain Name | Don’t select the bucket from the dropdown list. Paste the Static website hosting endpoint of the form `.s3-website-region.amazonaws.com` | |
| Origin > Enable Origin Shield | No | |
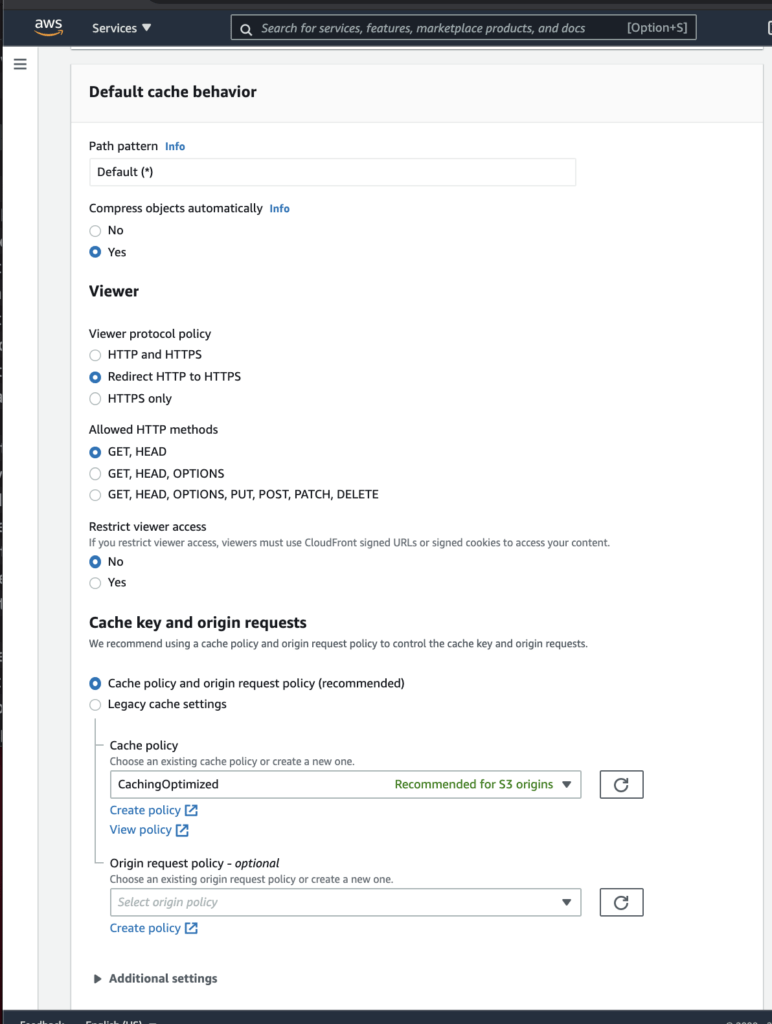
| Default cache behavior | Use default settings | |
| Cache key and origin requests | Use default settings |
5. Leave the defaults for the rest of the options, and click “Create Distribution”. It may take up to 10 minutes for the CloudFront Distribution to get created.
Note: It may take up to 10 minutes for the CloudFront Distribution to be created.
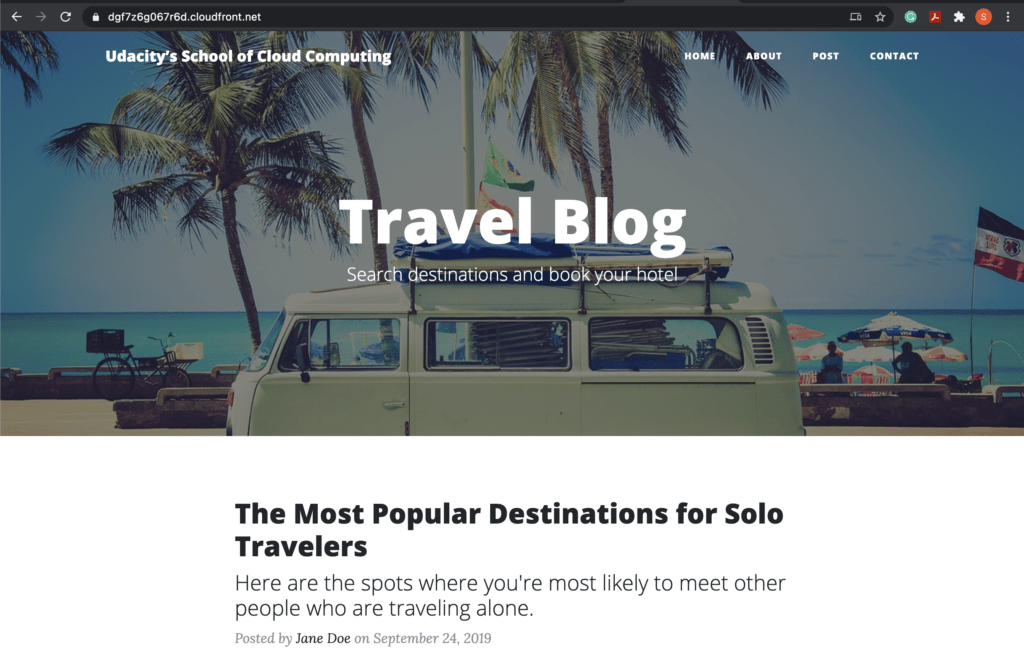
- Once the status of your distribution changes from “In Progress” to “Deployed”, copy the endpoint URL for your CloudFront distribution found in the “Domain Name” column.
Note – Remember, as soon as your CloudFront distribution is Deployed, it attaches to S3 and starts caching the S3 pages. CloudFront may take 10-30 minutes (or more) to cache the S3 page. Once the caching is complete, the CloudFront domain name URL will stop redirecting to the S3 object URL.
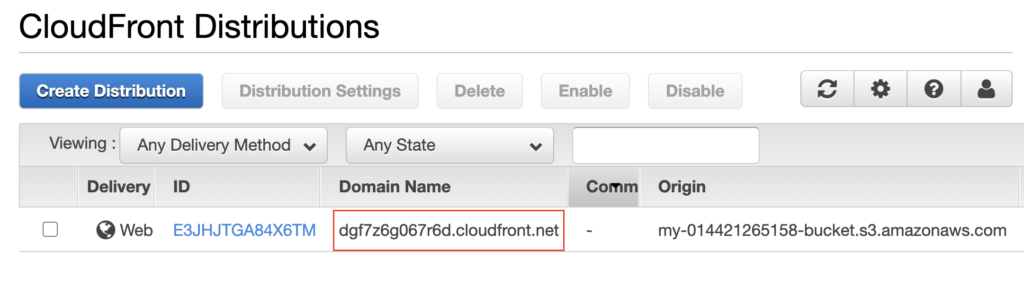
In this example, the Domain Name value is dgf7z6g067r6d.cloudfront.net, but yours will be different.
Access the website via website-endpoint, such as http://<bucket-name>.s3-website.us-east-2.amazonaws.com/.


Access the bucket object via its S3 object URL, such as, https://<bucket-name>.s3.amazonaws.com/index.html.